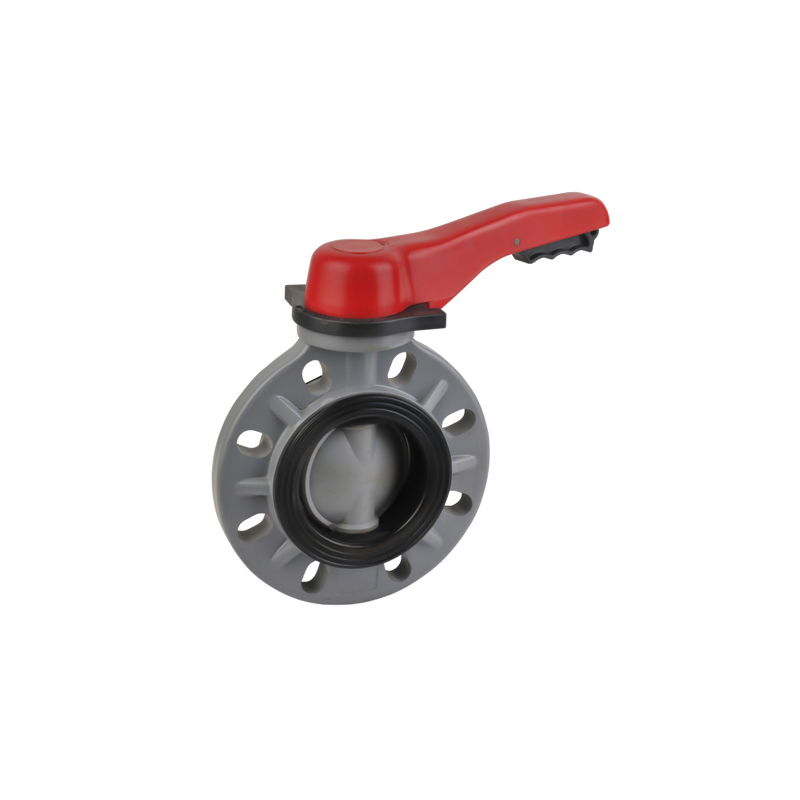
The rotation center of the disc of the UPVC flange wafer
butterfly valve (ie the center of the valve stem) is located on the centerline of the valve body and the section of the sealing surface of the disc. The valve seat is made of synthetic rubber. When closed, the outer sealing surface of the butterfly plate squeezes the synthetic rubber valve seat to elastically deform the valve seat, thereby forming elastic force as the sealing pressure to ensure the sealing of the butterfly valve. The sealing structure of the flanged butterfly valve adopts a composite valve seat composed of polytetrafluoroethylene and synthetic rubber. Its characteristic is that the elasticity of the valve is still provided by synthetic rubber, and the life of the butterfly valve is improved by using the characteristics of low friction coefficient, not easy to wear, and not easy to age. The sealing principle and the structural characteristics of the flanged butterfly valve are the same as those of the ordinary centerline butterfly valve. The sealing structure of the flanged butterfly valve adopts a composite valve seat composed of polytetrafluoroethylene, synthetic rubber and phenolic resin, which makes the valve seat more elastic and strong. At the same time, the butterfly plate is fully covered with PTFE, which makes the butterfly plate have strong corrosion resistance.
1. Before installing the flange butterfly valve, check whether the parts of the pneumatic butterfly valve are missing and whether the model is correct. Check that there is no debris in the valve body, and whether the solenoid valve and muffler are blocked.
2. Put the valve and cylinder in the closed state.
3. Put the cylinder against the valve (the installation direction is parallel or perpendicular to the valve body), and then check whether the screw holes are aligned, there will not be much deviation, if there is a little deviation, just rotate the cylinder to the body a little. , and then tighten the screws.
4. After the installation is completed, debug the pneumatic butterfly valve (normally, the air supply pressure is 0.4~0.6MPa), and the solenoid valve must be manually opened and closed during the commissioning operation (the solenoid valve coil can only be manually operated after the solenoid valve is opened). valve coil de-energized). Observe the opening and closing of the pneumatic butterfly valve. If it is found in the debugging operation that the valve is a little difficult at the beginning of the opening and closing process, and then it is normal, the stroke of the cylinder needs to be reduced (the stroke adjustment screws at both ends of the cylinder should be adjusted inward at the same time, and the valve should be moved to the open position when adjusting .Then turn off the air source and adjust again), until the valve opens and closes smoothly and does not leak air. It should also be noted that the adjustable muffler can adjust the opening and closing speed of the valve, but not too small, otherwise the valve may not move.
5. Defa should be kept dry before installation and should not be stored in the open air.
6. Check the pipeline before installing the butterfly valve to ensure that there is no foreign matter such as welding slag in the pipeline.
7. The manual opening and closing resistance of the butterfly valve body is moderate, and the torque of the butterfly valve matches the torque of the selected actuator.
8. The specification of the butterfly valve connection flange is correct, and the pipe clamp flange conforms to the butterfly valve flange standard. It is recommended to use special flanges instead of flat welding flanges for butterfly valves.
9. Confirm that the flanges are welded correctly. After the butterfly valve is installed, the flange shall not be welded to avoid scalding the rubber parts.
10. The installed pipe flange should be aligned with the inserted butterfly valve.
11. Install all flange bolts and hand-tighten. After confirming that the butterfly valve and the flange are aligned, carefully open and close the butterfly valve to ensure flexible opening and closing.
12. Fully open the valve. Use a wrench to tighten the bolts diagonally. No gasket is required. Do not overtighten the bolts to prevent serious deformation of the valve ring and excessive opening and closing torque.